The morning after the party.
Strange place to start a recipe, true, but bear with me.
Arms heavy (thankfully no spaghetti or vomit), air even heavier, I trudge blind into the kitchen. It’s clean, a testament to OCD’s power over alcohol. However, a functioning kitchen is only the first step of the leftover re-purposing marathon ahead of me.
Meats to freeze, breads to crumb, and of course, lemons. No lemons at a party’s like tea without a biscuits, it’s what turns mindless drinking, into an experience. Of course, to a large majority or our guests, mindless drinking was actually the priority, and so ‘experience’, and my lemons, were sidelined.
Now with a fridge full of lemons greeting me good morning, I was stuck. No sane person can get through two packs of 5 lemons in less than a week. I had to get rid of them. But how?
Baking the Bunch
Whenever there’s a surplus of anything in the house, baking is usually the answer. Too much fruit? Make a crumble. Too many eggs? Meringue. You get it. But having said this, a ten lemon cake is more likely to produce a battery than a batter. I therefore needed a recipe that could handle level of acidity such a volume of lemons would produce. Something that capitalises on the tartness, without trying to bury it in sugar and spice.
Fortunately for me, no lemon adorned drinks means no hangovers to feed in the morning, meaning I had eggs also in abundance. There was nothing else for it in this case, it was time to make lemon curd.
As I researched this recipe, however, I wanted something that would be dual purpous. Of course the original intent behind lemon curd is to produce a spread which will last for longer than the sum of its parts. But I also wanted something that’s an ingredient in its own right. Spmething that could double up as icing for a cake, or a tart filling, whenever the need arose.
Here it is then, my lemon curd:
Recipe
Zest and juice lemons
One way to extract the maximum amount of juice from your lemons is to roll them under the pressure of your hand, as well as giving them a quick burst in the microwave. This will break up the lemon’s interior membrane structure, making them easier to juice.
- 5 lemons
Rub the sugar into the lemon zest
This rubbing action will extract the limonene from the zest, the essential oil that gives lemon zest it’s distinct flavour.
- 300g sugar
Seperate the necessary number of eggs, keeping the yolks
- 2 eggs
Combine all ingredients (except for the butter) in a large (preferably metal) bowl
This bowl will be used as a bain marie, placed over a saucepan of boiling water to heat the curd mixture. It’s therefore advisable to use a somewhat conductive bowl, or you’ll heating the mixture for a while!
- 2 yolks
- 3 eggs
- sugar and zest mixture
- juice from 5 lemons
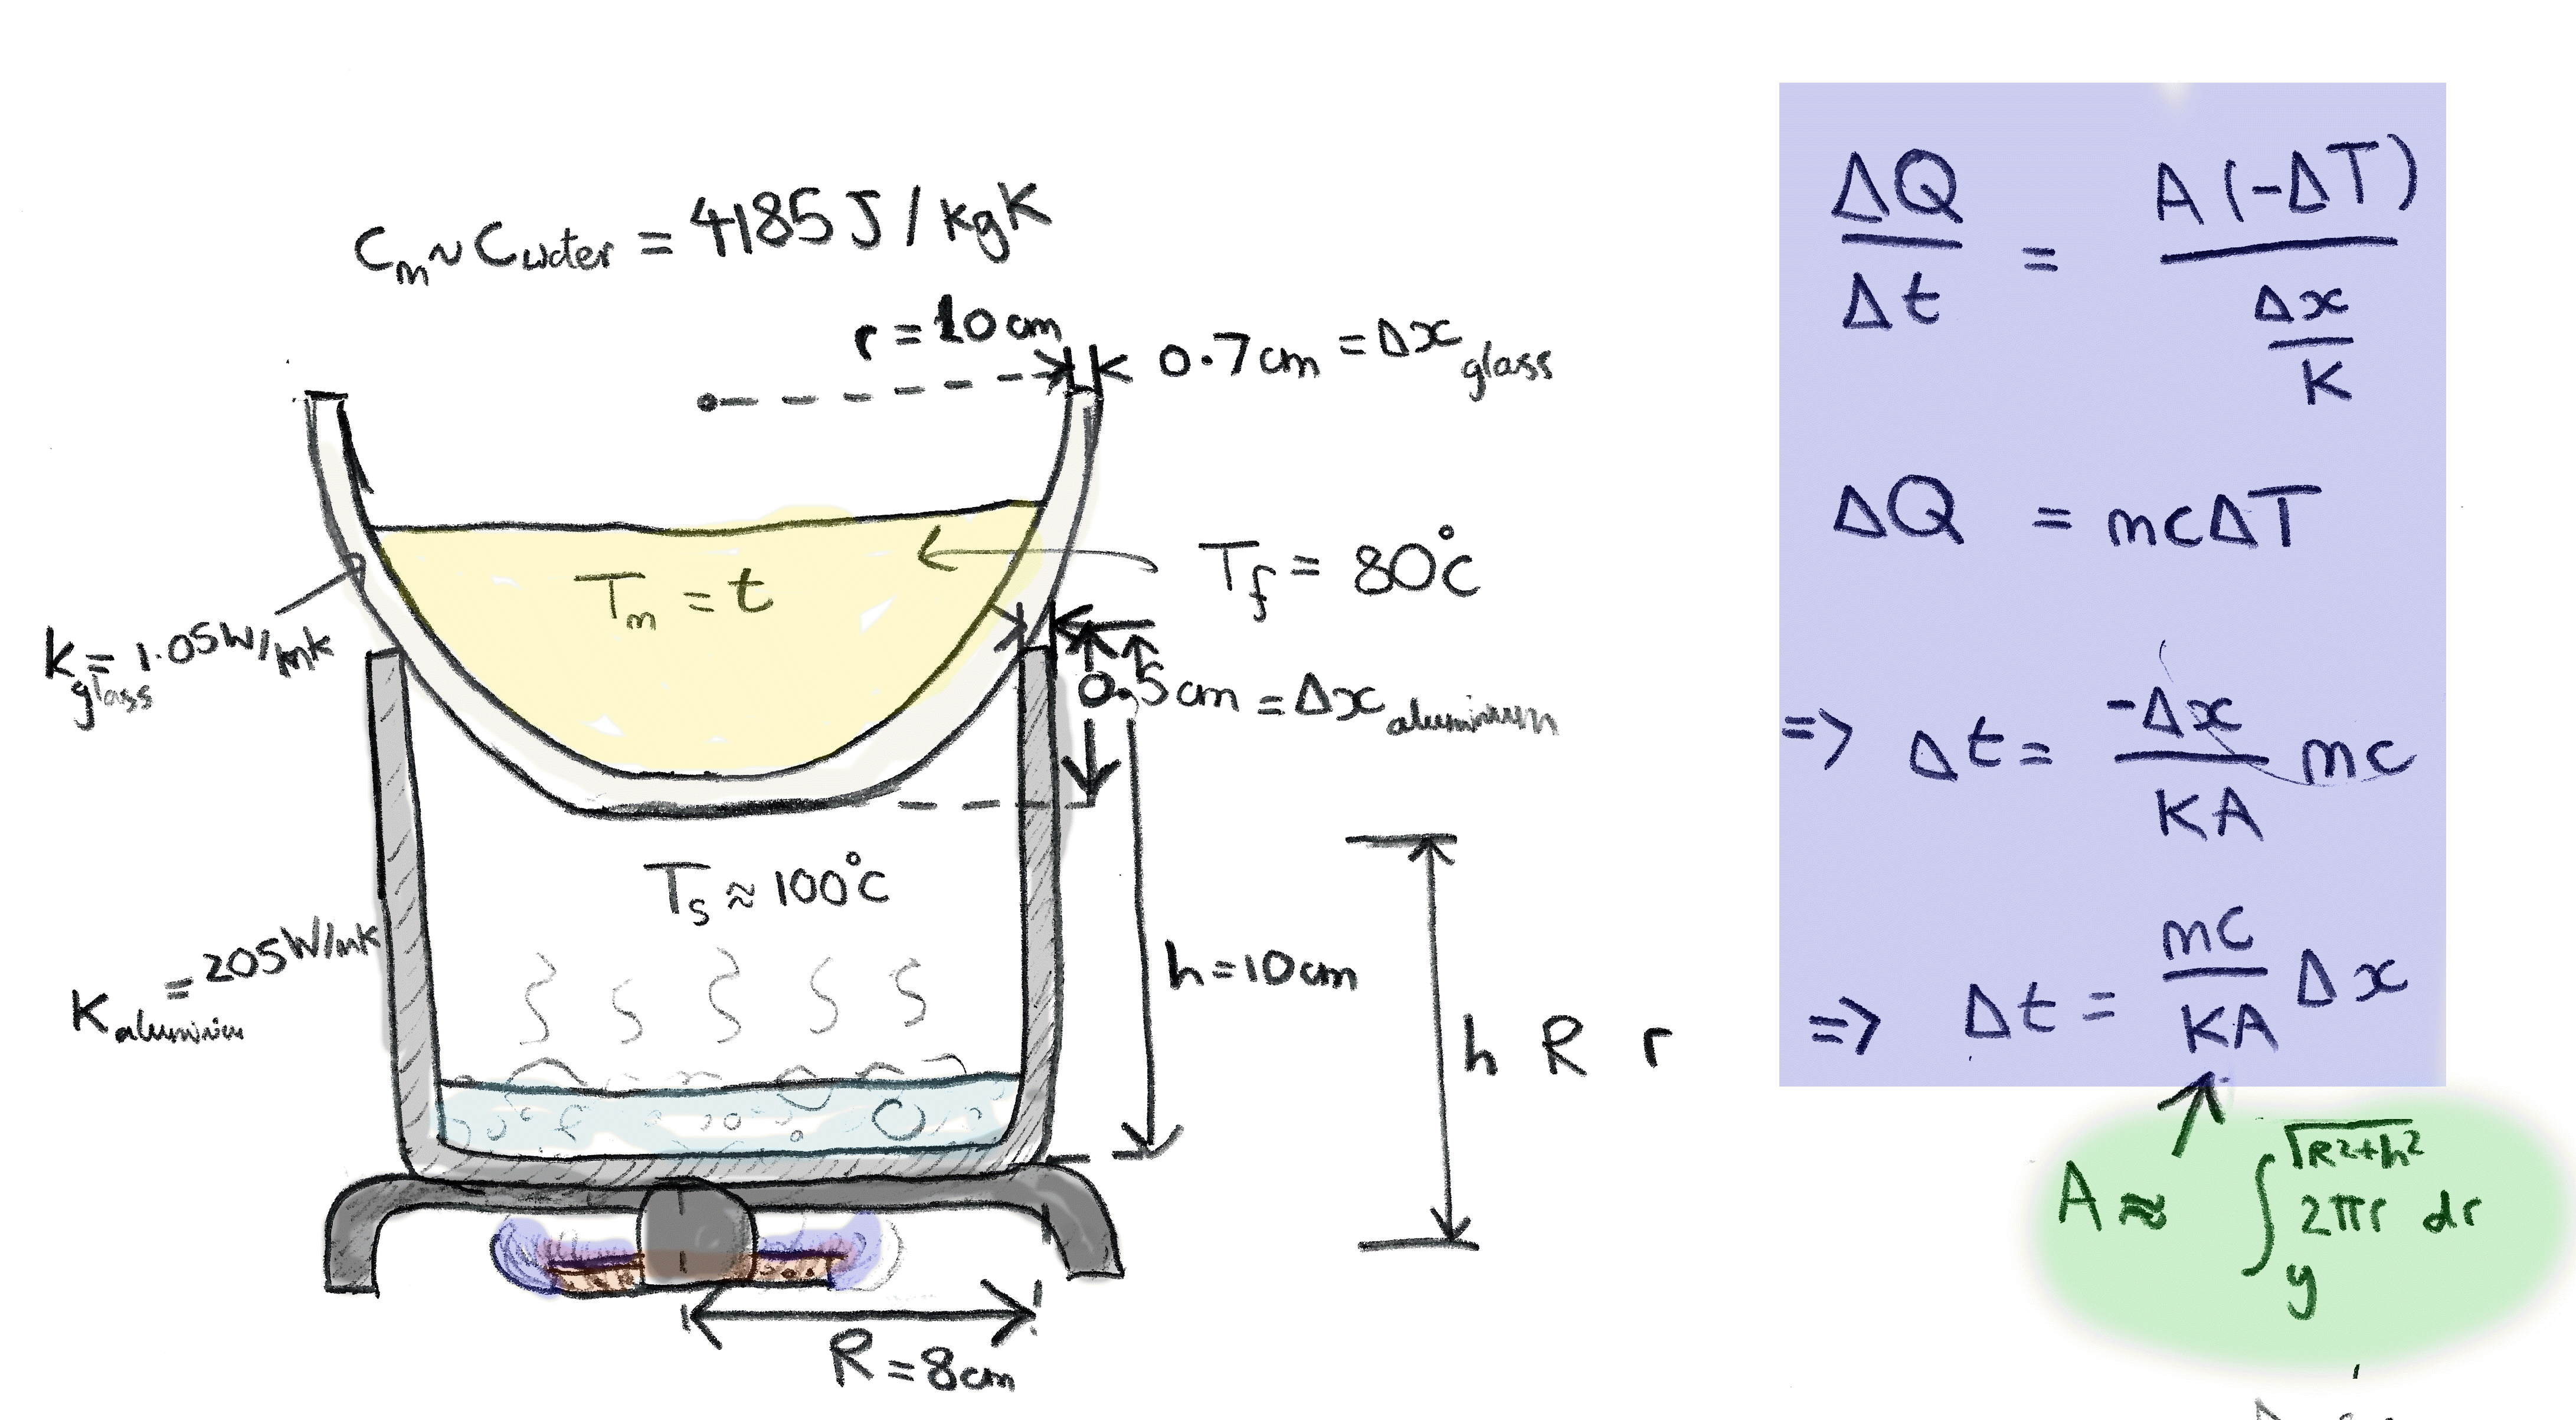
Heat the mixture over a pan of boiling water to 80°C, where it will thicken (10-20mins…or linger if using glass bowls like me)
The mixture will be ready when it no longer fills the gap ,left by a finger drawn across a film of curd on the back of a spoon. In the meantime, you’ll have to keep stirring the mixture continuously to prevent the eggs curdling, a spatula is ideal for this.
Once ready, blend the butter into the mixture with a hand blender until smooth
The addition of fat at the end will give the curd a nice glossy finish, a bit like making a salad dressing. If there’s a lot of curdled egg, strain the mixture beforehand, although this means you’ll lose a lot of the zest in the sieve. I’ll also add that this is not what I did and that I foolishly added the butter before heating the mixture. Whilst not a game breaker, it does significantly increase how long you’ll be standing over the stove stirring.
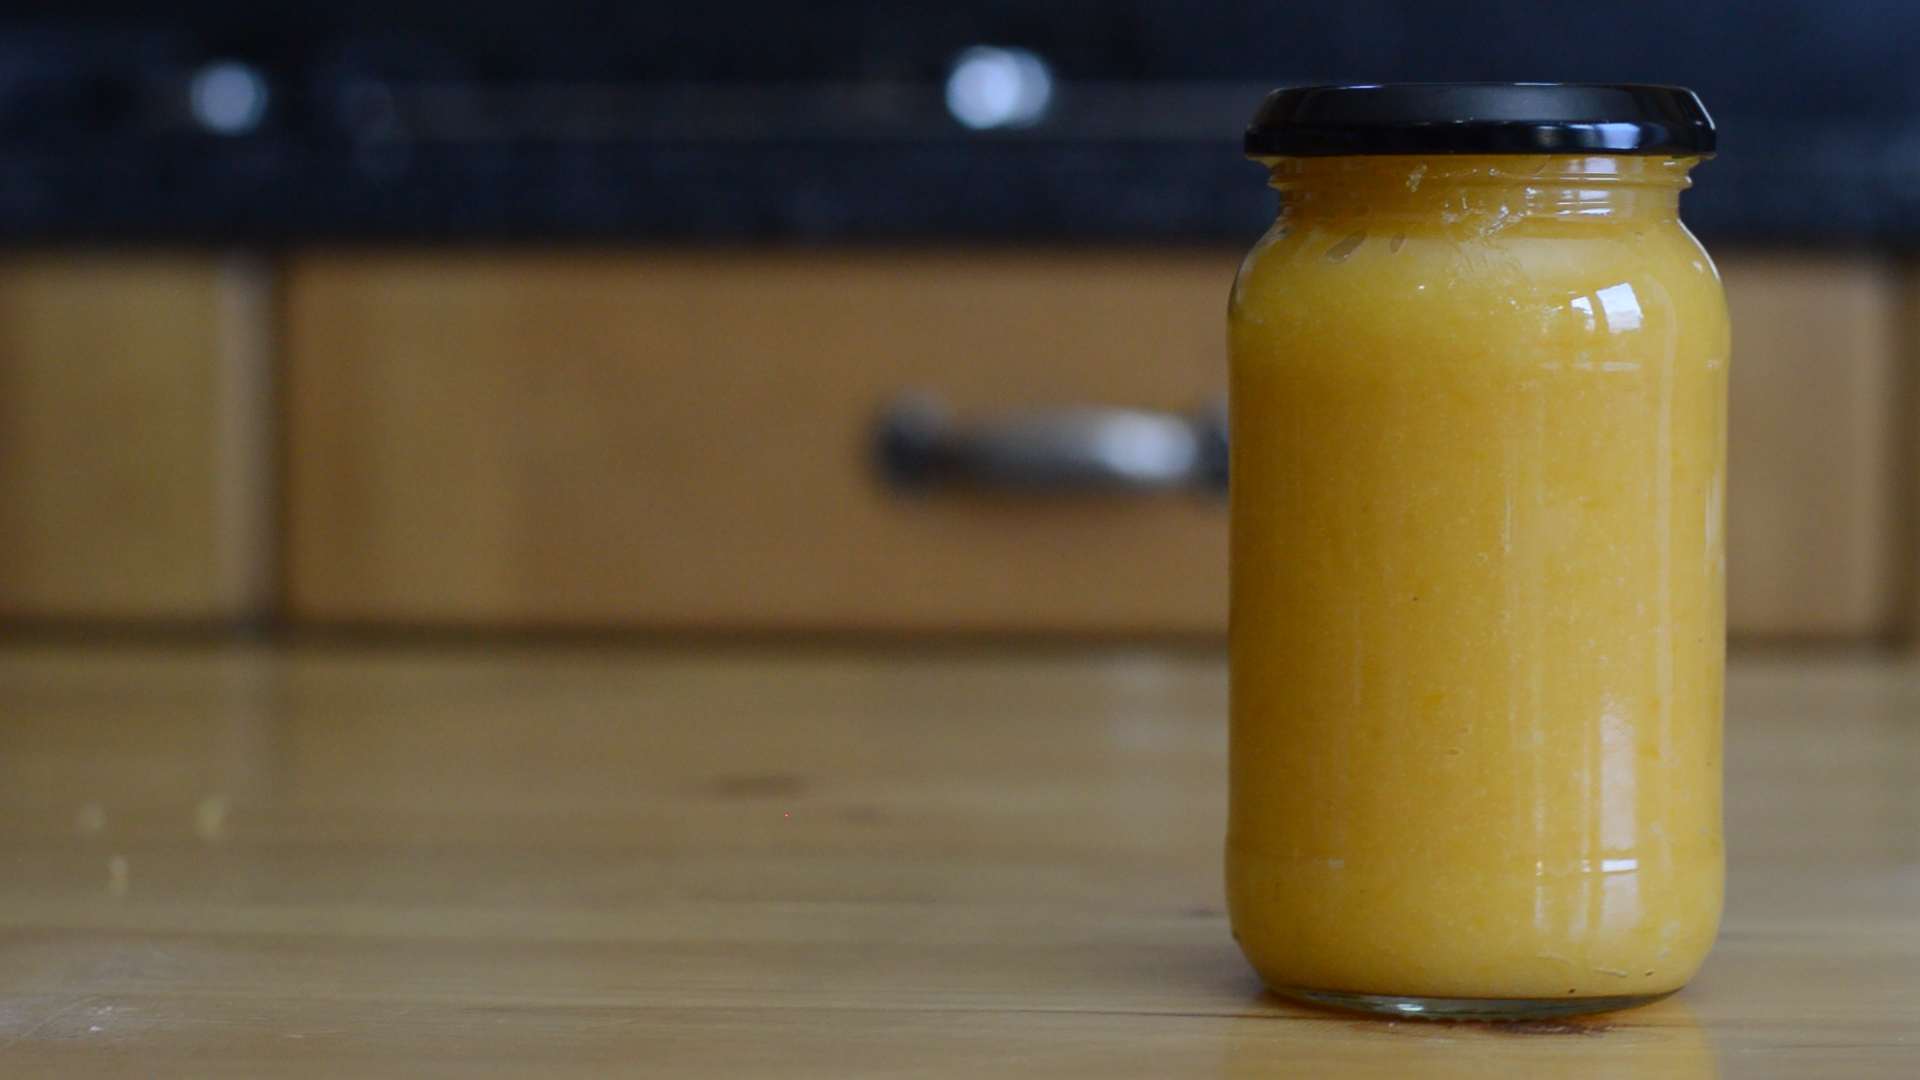
Pour the lemon curd into a sterilised jar, seal and cool in the fridge.
Jars can be quickly sterilised by cleaning with soapy water, rinsing them with hot water until no suds remain, before giving them a quick 10 minute blast in the oven on around 80°C until dry.
Evaluation
Though merely four ingredients, this recipe is not to be underestimated. It’s hard to convey in video exactly how long something takes without making it unwatchable. Believe me though that this was long, technical work, as much as any meringue.
But that may have been my fault.
To start, I added the butter before heating the eggs, instead of after. To top this off, I, in my infinite wisdom, decided to heat the curd over a tiny saucepan in a massive glass bowl. This combination meant that heat was was probably leaving the saucepan faster than it was actually getting to the curd.
In short, the lessons learnt making lemon curd were therefore:
- Use appropriate kitchenware. Keep your pans large and your bowls conductive (metal preferably, sorry Pyrex).
- Add in your butter after the eggs have been heated and set. It’ll give a smooth curd while minimising heating time.
More to Read
If you’ve been caught up in the curd, check out my lemon tart, to see exactly how not-smooth a bake can be. I promise you won’t be disappointed.